From Frame to Freedom
The 6 Key Stages of a Teardrop Trailer Build
The iconic teardrop trailer—a symbol of minimalist adventure and open-road freedom. While compact, these little campers are a marvel of thoughtful design and sturdy construction. Have you ever wondered what goes into creating one of these road-ready abodes?

Join us as we pull back the curtain and explore the six essential stages of building a teardrop trailer, from its humble foundation to the shiny, polished camper ready for its next journey.
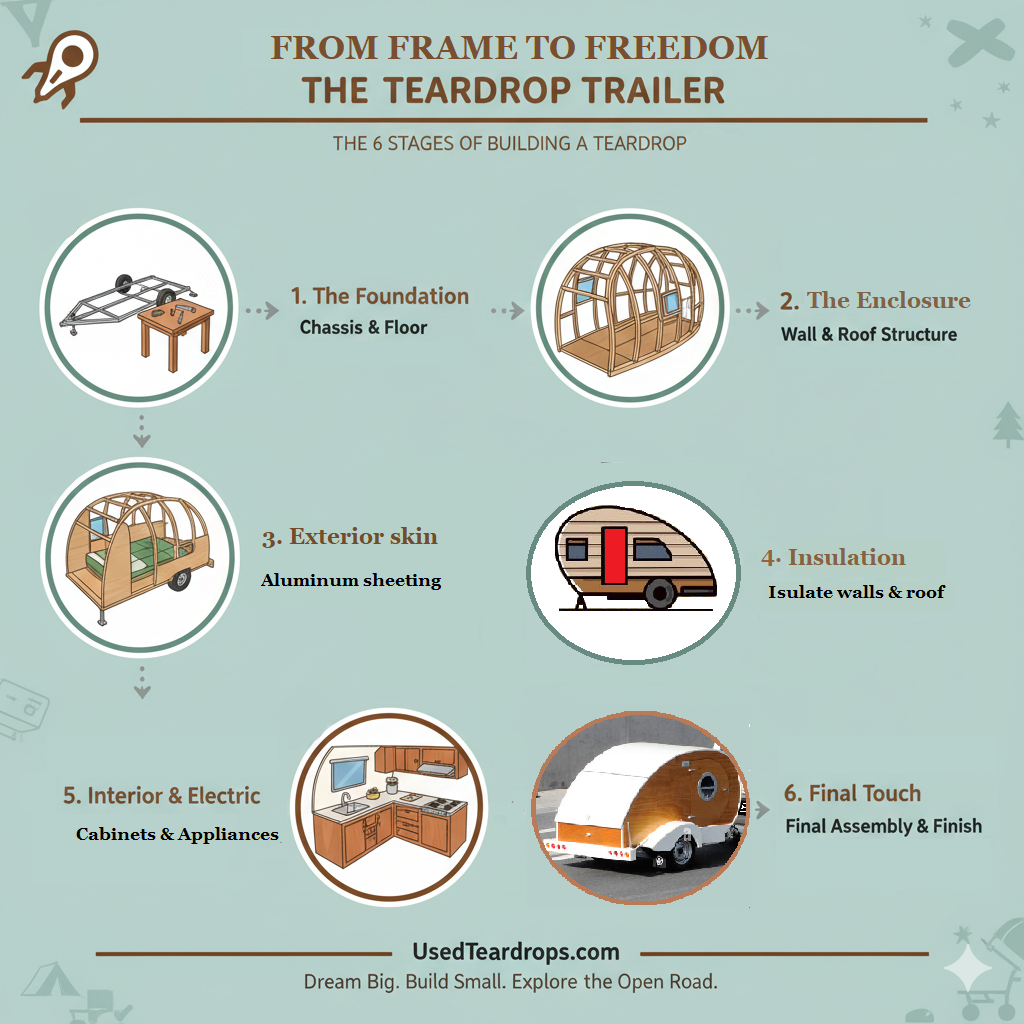
Stage 1: The Foundation – Chassis & Floor
Every great adventure starts with a solid base, and for a teardrop, that’s the chassis and floor. This stage is crucial for the trailer’s stability, safety, and longevity. A robust steel frame (chassis) provides the skeletal strength, custom-built to the specific dimensions and weight requirements of the trailer.
Now a sturdy plywood floor. Often treated for weather resistance, forming the platform upon which the entire camper will rest. This is where the dimensions and layout truly begin to take shape.
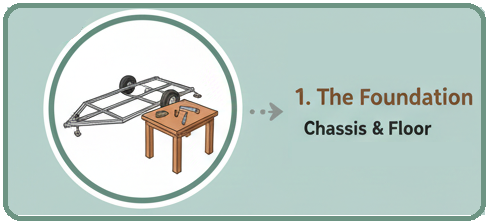
Stage 2: Sheeting & Wall Structure
With the floor down, the teardrop’s distinctive silhouette begins to emerge. This stage involves constructing the inner and outer wall frames, often from lightweight yet strong wood or aluminum. Cover the frame. (like thin plywood or composite material). To create a smooth interior surface.
The unique curvature of the teardrop is crafted. Giving the trailer its aerodynamic shape and classic appeal. Precision is key in this stage to ensure proper sealing later on.
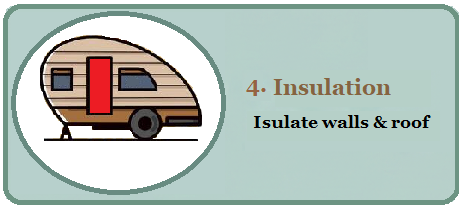
Stage 3: Insulating the Interior
Comfort on the road, whether in the desert heat or mountain chill, depends heavily on good insulation. This stage involves carefully fitting insulating materials (such as foam board or radiant barriers) into the spaces between the inner and outer wall frames.
Proper insulation not only regulates temperature but also dampens sound, making for a quieter and more pleasant camping experience. A well-insulated teardrop ensures your climate control (if installed) works efficiently and provides year-round comfort.
Stage 4: Interior & Electrical Wiring
Now the teardrop really starts to feel like a home away from home. This stage focuses on the interior finishes and the essential electrical system. Now cover the inner walls and ceiling. (often birch or other light woods)
The electrical wiring for interior lights, power outlets and any kitchen appliances. Meticulously run through the walls. Now connect to the trailer’s power source. This is where personalized touches and functional design come to life.
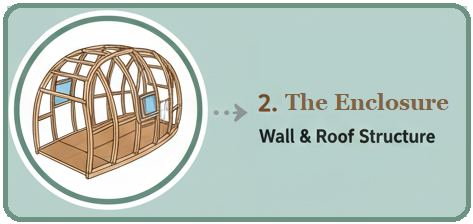
Stage 5: Outer Skin Application
This is where the teardrop gets its “face”! The outer skin. Materials typically include aluminum, fiberglass, or sometimes wood panels, chosen for their durability, weather resistance, and aesthetic appeal.

This stage requires precision and meticulous sealing to ensure a watertight shell, protecting the interior from the elements. The iconic shine of a polished aluminum teardrop truly begins to show during this critical step.
Stage 6: Final Assembly & Finish Work
The final stage brings everything together. Doors and windows are installed, sealed, and trimmed. The galley kitchen at the rear (a hallmark of most teardrops). Fitted with cabinetry, countertops, and appliances like sinks and stoves. Fenders, exterior lights, polished trim, and any other accessories are added.
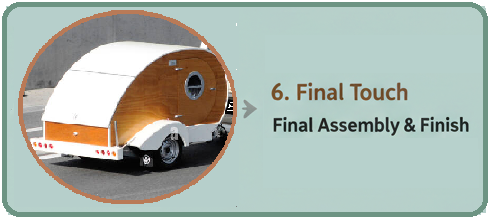
The final polish. Protective coatings are applied. Giving the teardrop its completed, road-ready look. From the hitch to the tail lights, every detail is checked. Ensuring the camper is safe, functional, and ready for its maiden voyage.
Ready for Your Own Teardrop Adventure?
Understanding the craftsmanship behind these compact campers makes you appreciate their enduring quality. Whether you’re looking to buy a pre-loved teardrop or embark on your own DIY build, knowing these stages empowers you to make informed decisions.

Explore more about the teardrop lifestyle at UsedTeardrops.com and start planning your next great escape! From frame to freedom, build your own teardrop camper. DIY teardrop project. You always have the option to purchase new: New Teardrops